Each year, I have big ideas that I will create a
unique and one-of-a-kind Spring Wreath
that will knock your socks off. I plan it, and in
my mind – it is Fabulous! 🙂
Then, one week rolls into another – and that
procrastination gene kicks in as it usually does…
and my “knock your socks off wreath” ideas turn
into “Oh heavens I need a Spring Wreath fast!”
Which brings me to how I created this 3-Step
Easy Spring Wreath.

I could also call it the
“Recycled-Upcycled Easy 3-Step Wreath”…
because I pulled out some items from the ole’
“bin ‘o recycled florals” to create this.
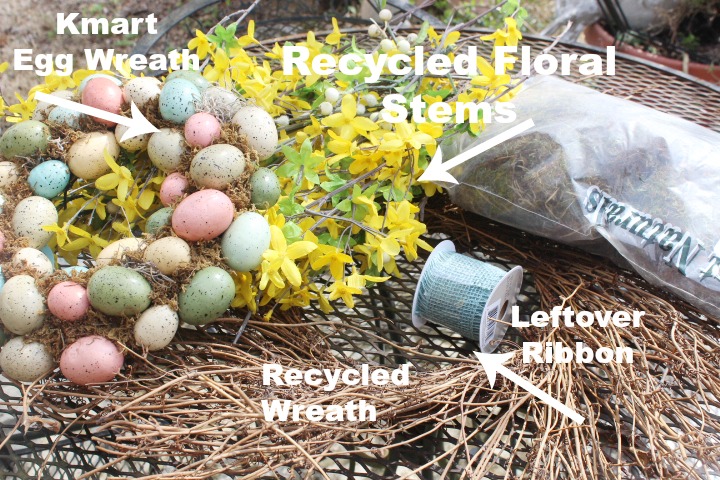
A twiggy wreath, some silk forsythia stems that I have
used for the past two years (Dollar Store finds)…
(see last year’s Spring wreath HERE)

I also used a roll of leftover ribbon. I did purchase
one item, which I will share with you below.
……………………………………………..
To start, I simply pushed the forsythia stems
directly into the wreath.
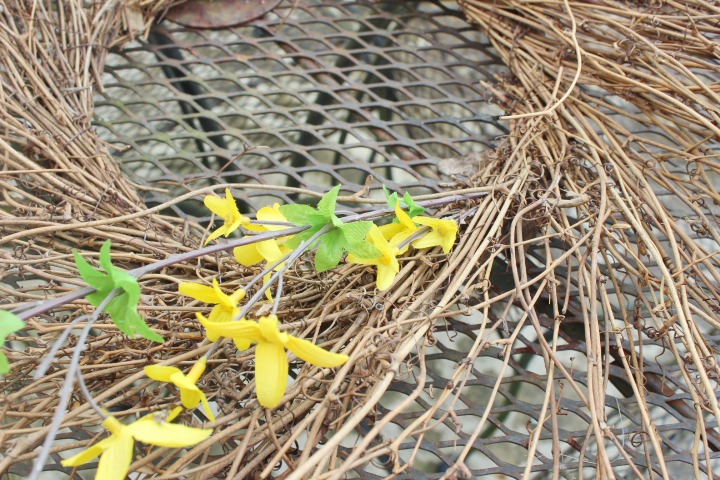
I placed the stems in the same direction of the twigs.
I added a single layer all the way around –
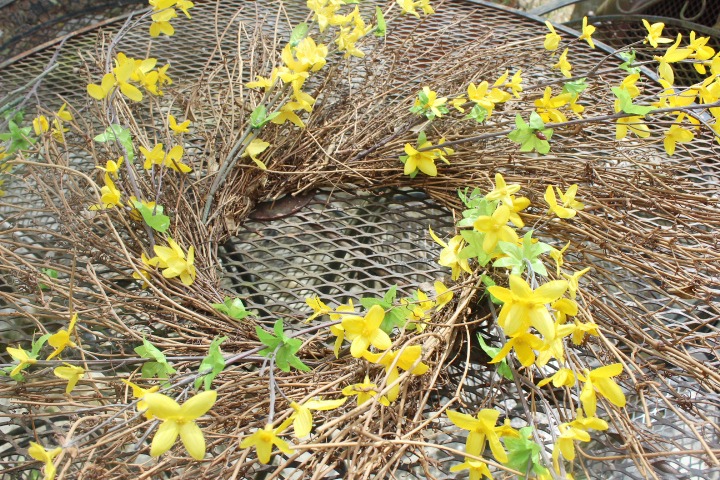
… then I used the remainder of the stems to fill
in the wreath. I didn’t use glue, as the stems stayed in
on their own when pushed into the wreath.
(Step #1)

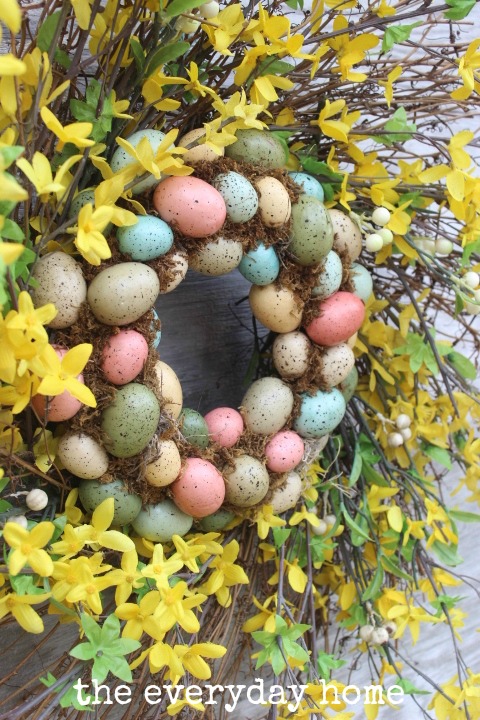
I mentioned that I purchased one item for my wreath.
I spied this cute, speckled Egg Wreath at Kmart.
Yes, Kmart!
It was on sale for $8.99.
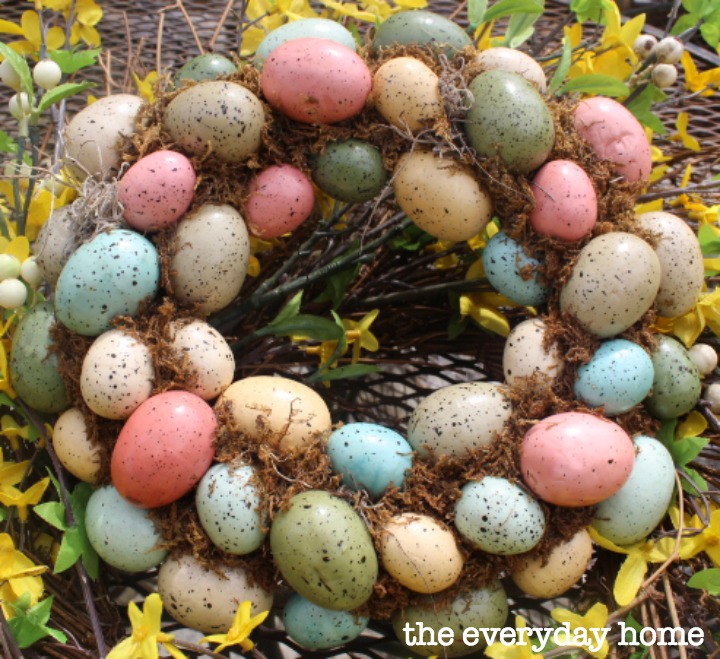
Don’t you love the soft colors and delicate layer of moss?

I wrapped two long pieces of wire around the egg wreath…
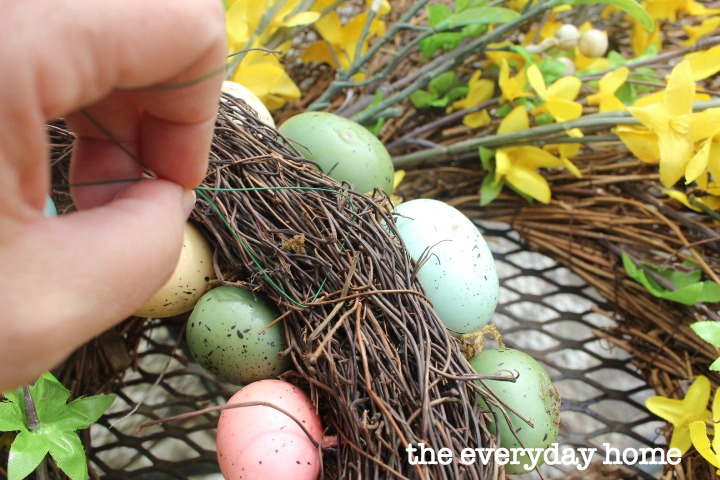
… then, wired the egg wreath right over the
forsythia-filled twig wreath.
(Step #2)
I love that nothing is permanently attached and I can
simply disassemble it once Spring has passed,
and put things away to use next year.
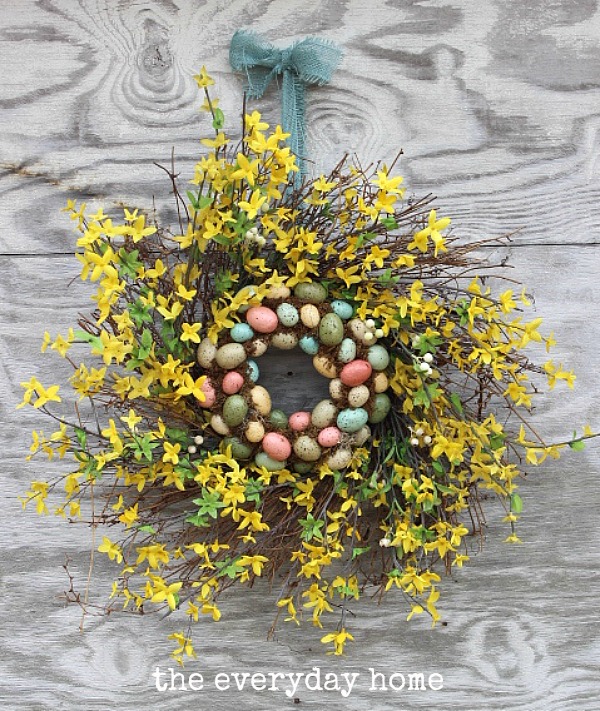
All that was needed was a simple blue, burlap hanger.
(Step #3)
My little assistant, Roo, asked what the flowers
“smelled” like.

I said they smelled like “Spring.”

He wasn’t buying it. ha!
But, the good thing is that this wreath only took a few
minutes to make, which meant we could move on
to much more important things –
like feeding the koi fish and trying to catch the first
lizard spotted this Spring.
This wreath was a valuable lesson in
“plan less and enjoy more.” I had such huge plans
for an amazing wreath which would have taken
most of the day to create.
(I still plan on making that one soon, by the way)
🙂
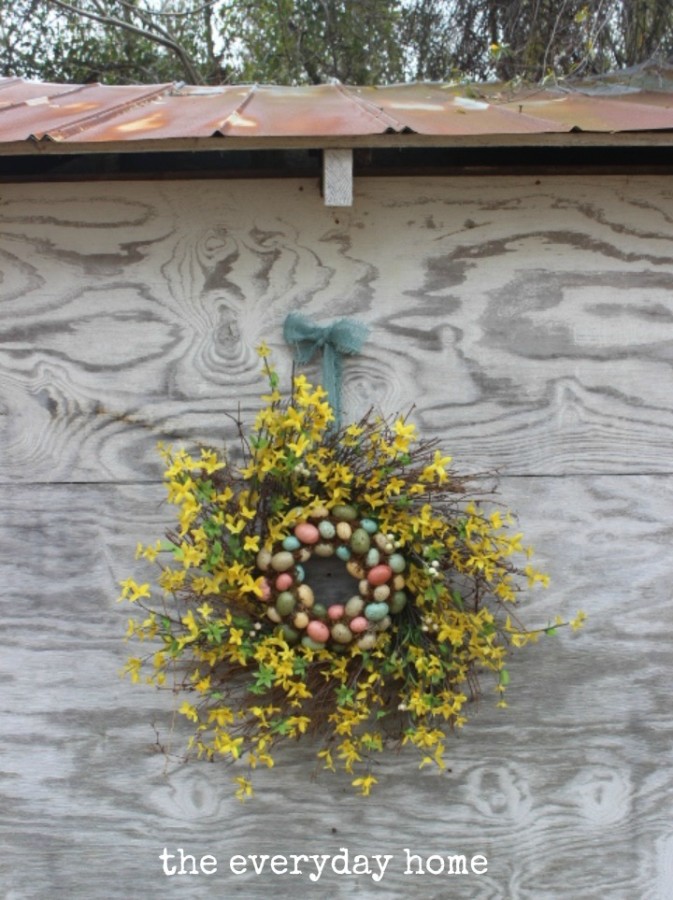
But, sometimes the best projects are the
quick ‘n easy ones.
The THREE-step Easy Spring Wreath ones.

I am honored to be part of a group of Bloggers
whom I adore.
We all participate in a monthly Blop Hop called
“Inspired by…”
This month, it is Spring Wreaths.
Joining me this month is:
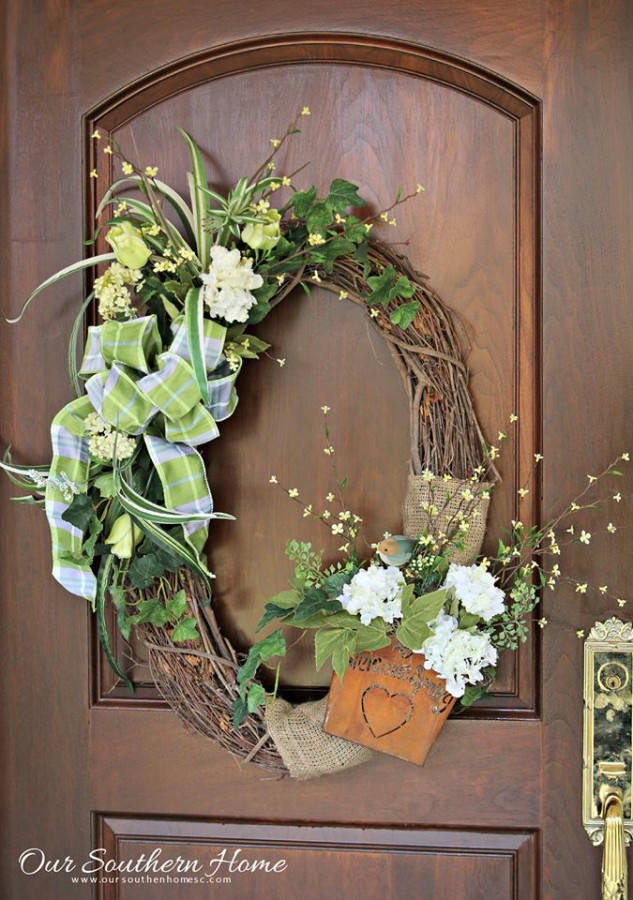
Our Southern Home:
…………………………………….
Snazzy Little Things:

………………………………….
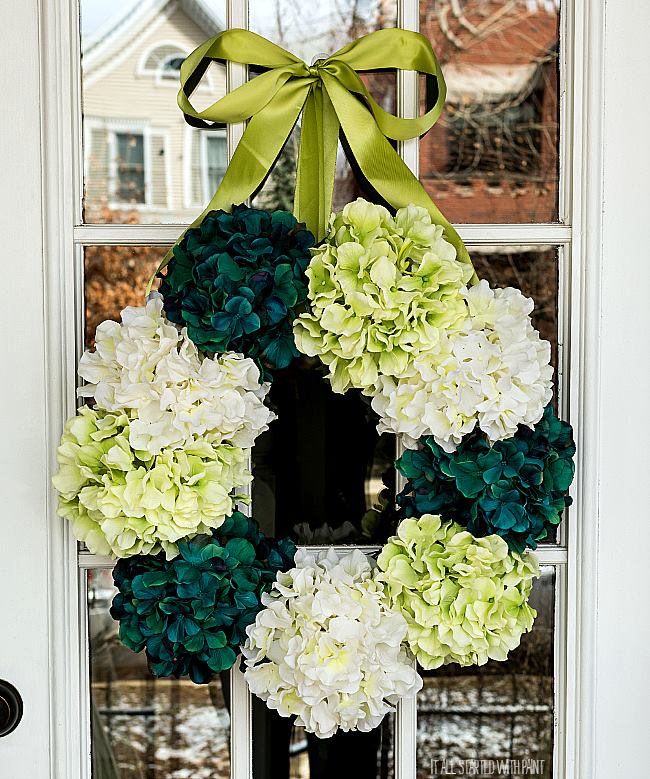
It All Started With Paint:
……………………………..
Worthing Court:

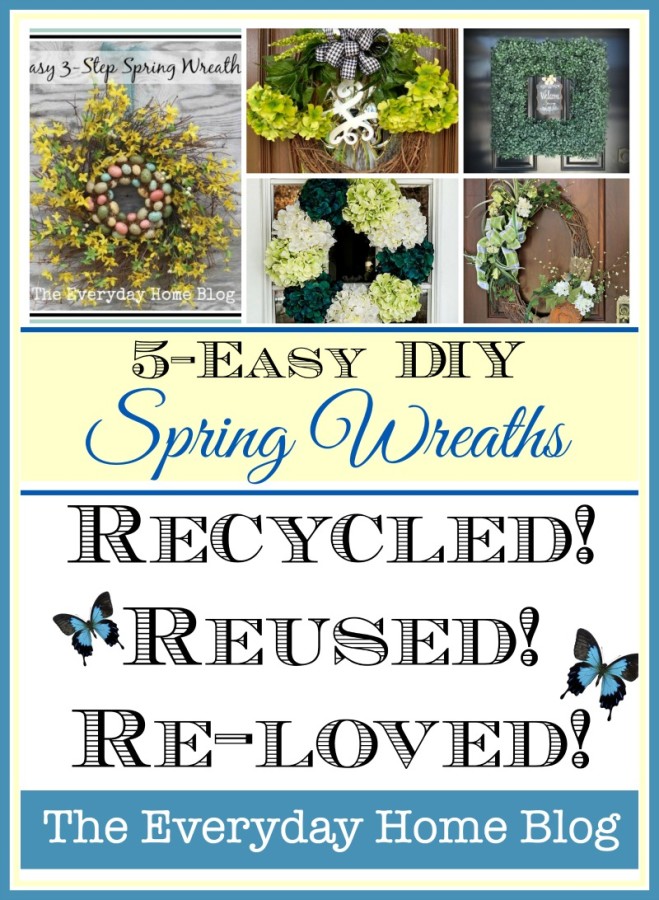
I would love for you to PIN these images
to your favorite Pin Boards!

I would also love if you would TWEET
this message for me…
[Tweet “Create this Spring Wreath in 3-Easy Steps. #DIY #Create #Spring”]
Don’t forget – I have an awesome giveaway you
can enter before April 3rd.

Click HERE to enter.
…………………………….
Thank you for spending a few minutes of
your day here with me.
You can also follow along with me at:
xxoo, Barb


love them all….especially quick and easy.what a cutie!
View CommentLove this easy wreath idea … and you have the cutest assistant ever!!! If you can whip this beauty up in 3 minutes I can only imagine what a full day wreath project will turn out to be! Can’t wait!
So happy to be sharing our Spring wreaths, my friend. Even if Spring has yet to sprung here in the north …
🙂 Linda
View CommentBarb, It turned out beautifully!!! You sound like me. You pull out what you have and just start creating with no plan. Best creations can happen that way. I just think this is adorable! Really cute egg wreath as well!!
View CommentI LOVE IT Barb!!
View CommentHow adorable, Barb. I totally love it! I have an old egg wreath from the dollar store that I never use because it’s so small. It never would have occurred to me to layer it on top of a larger one. Thank you for this inspiration!
View Comment