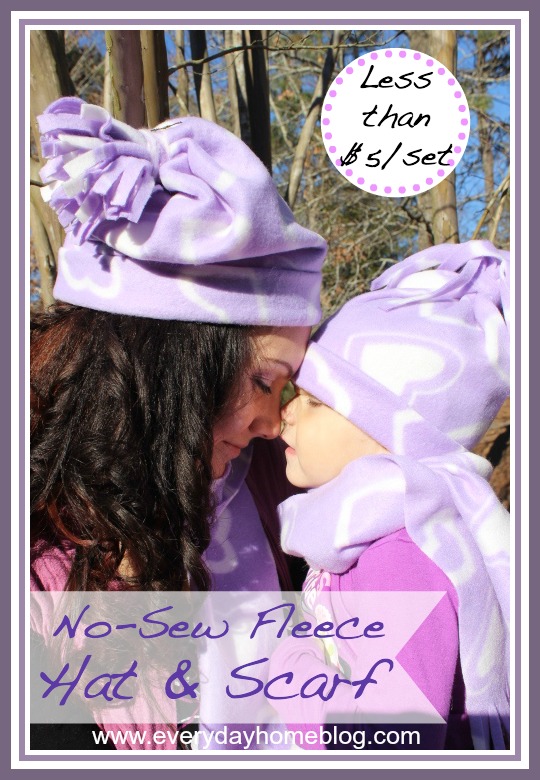
Fleece!
I have to admit it.
I am addicted.
It collects around The Everyday Home like dust.
🙂
So, I decided I needed to start doing something with it so
it could earn its keep around here.
My beautiful daughter-in-law came over,
and we decided to make some a
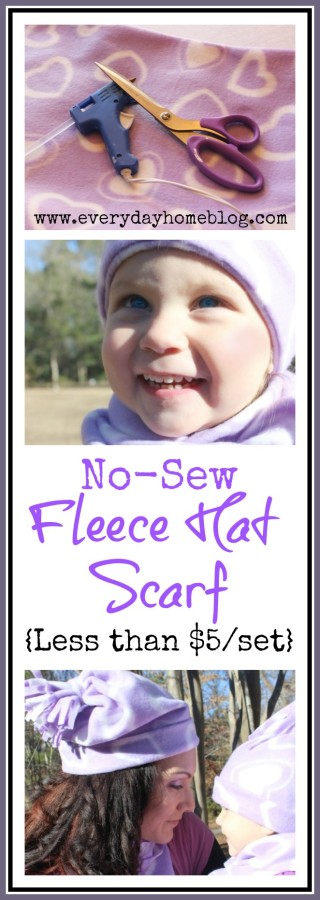
No-Sew Winter Hat and Scarf Set.
But, since I had about a yard of fleece that was on sale
{plus a coupon} and me cost only about $5,
we decided to make matching Mommy-Daughter Sets.
Seriously, it was fun and I think it took us about 30 mins
to make both sets.

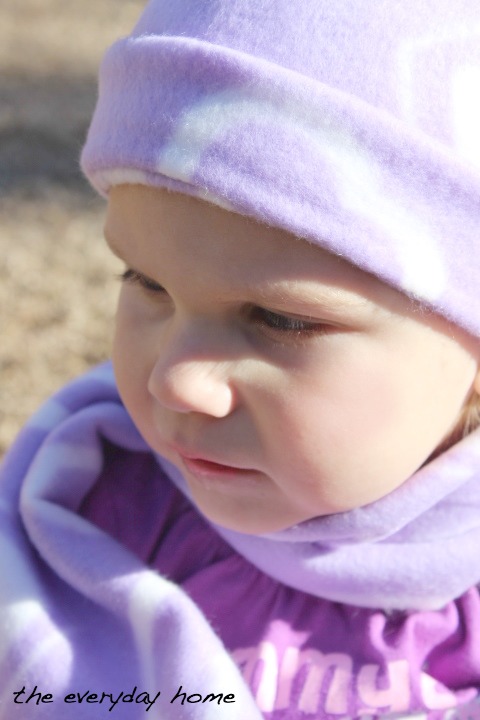
And of course, I had two of the prettiest models ever to wear them.
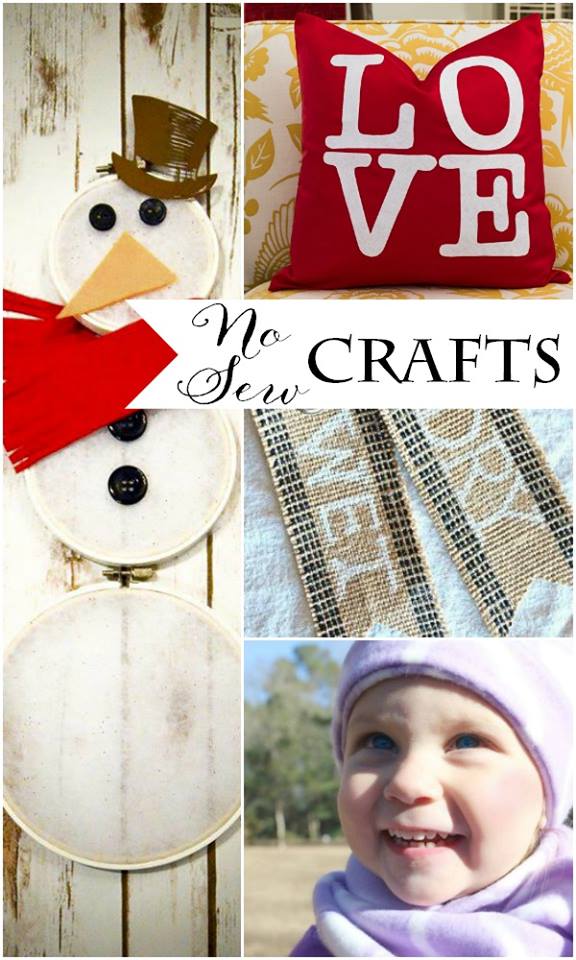
I am joining a group of other fabulous Bloggers this week for a
“No Sew Winter Showcase.”

I will share more on who they are at the end, but for now –
let’s get busy making this
No Sew Winter Hat and Scarf Set.
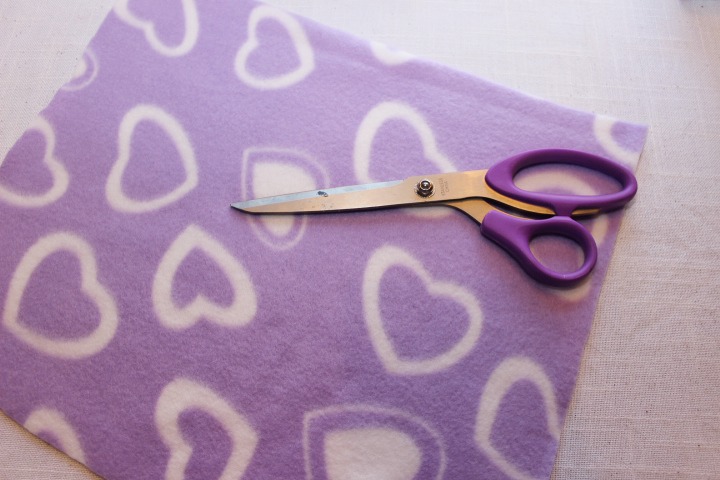
Here is the supply list…
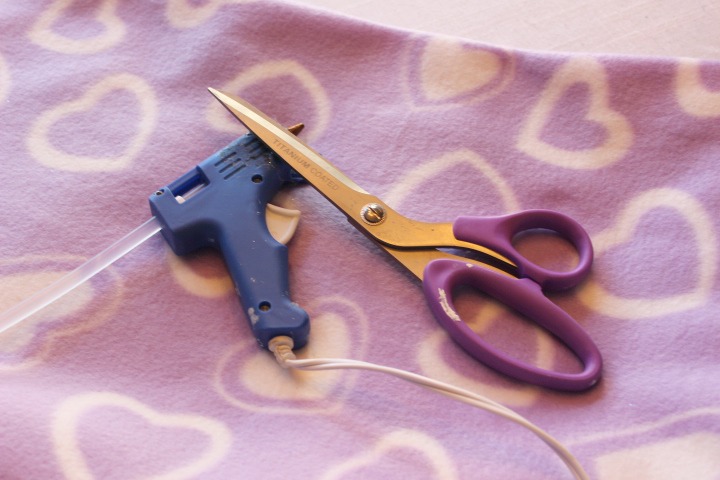
I know.
It’s massive, huh.
Fleece, scissors and a glue gun.
{Well, you may also need a measuring tape to measure the diameter of the head.}
Making the Scarf…
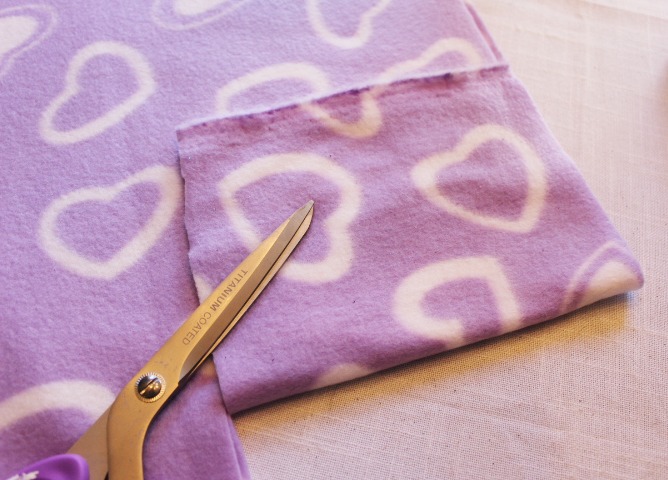
Decide how wide you want the scarf to be, and cut a width
of fabric from the longest end.
Once the scarf is cut, simply “fray” the ends of the scarf
by making about 2″ cuts along the edge.
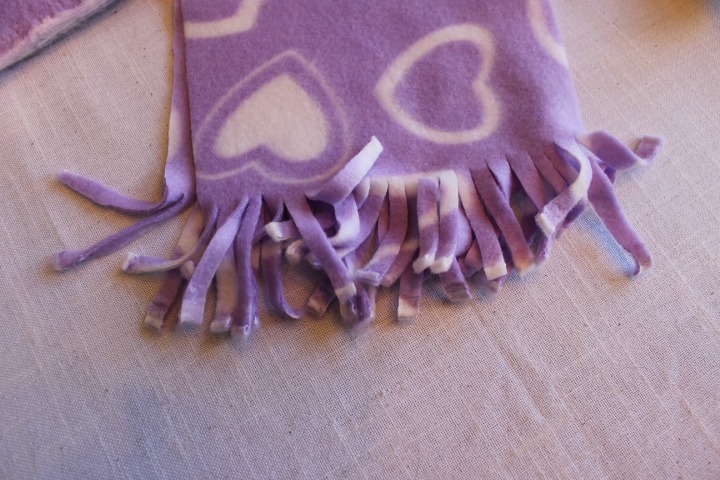
Guess what?
Scarf?
Done.
Yep, done.
When I say No-Sew, I ain’t messing around.
🙂
Let’s move on to the hat…
Measure the width of the head and add about 4″ for some give
and so the hat isn’t a tight fit. You also need to determine how
long, or how much fridge you want. For Miss C’s hat, I wanted a long fringe.
Measure from the eyebrows to the decided length of the fringe.
{I held the fabric up to her head.}
Next, cut your fabric to the decided width and height.
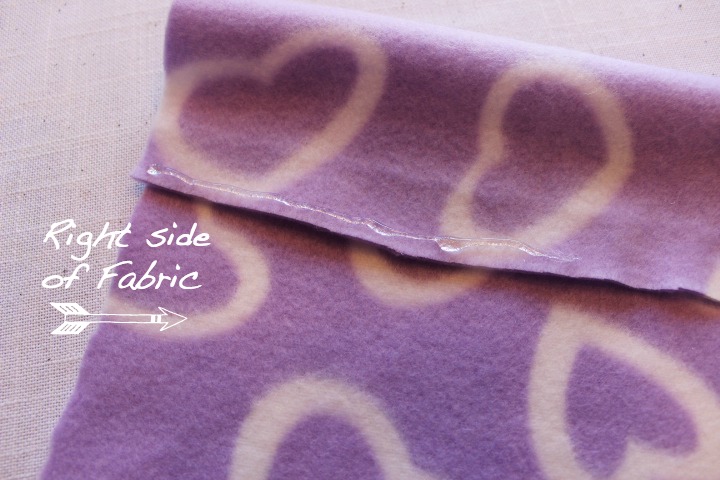
Leaving fabric right side up, roll top of fabric down about 3″,
as shown below.
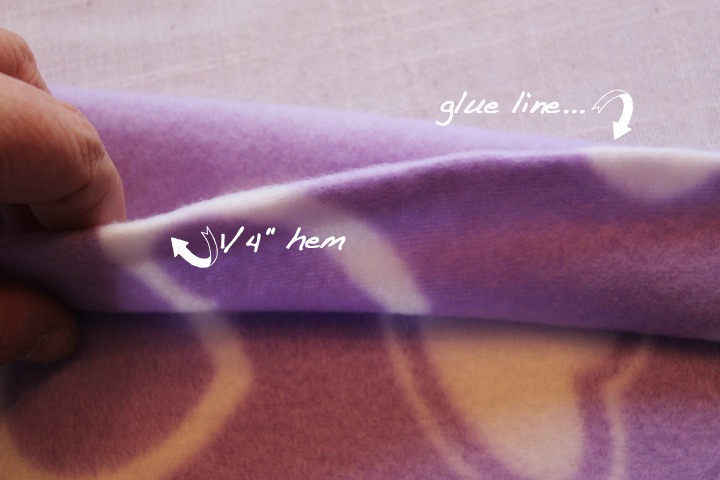
Run a thin line of glue along the edge…
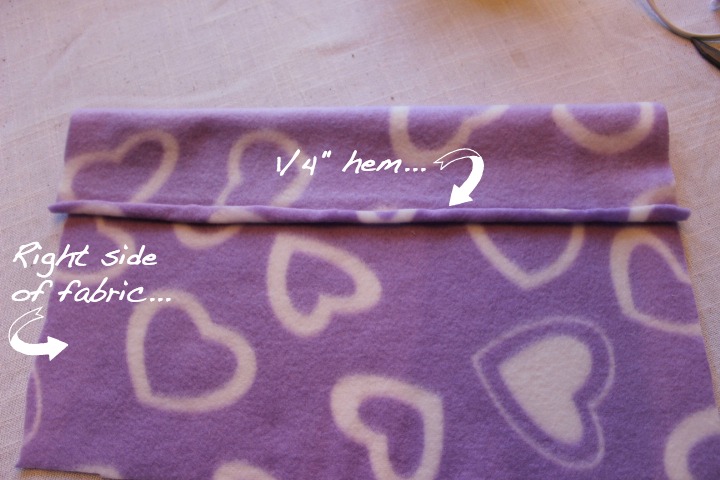
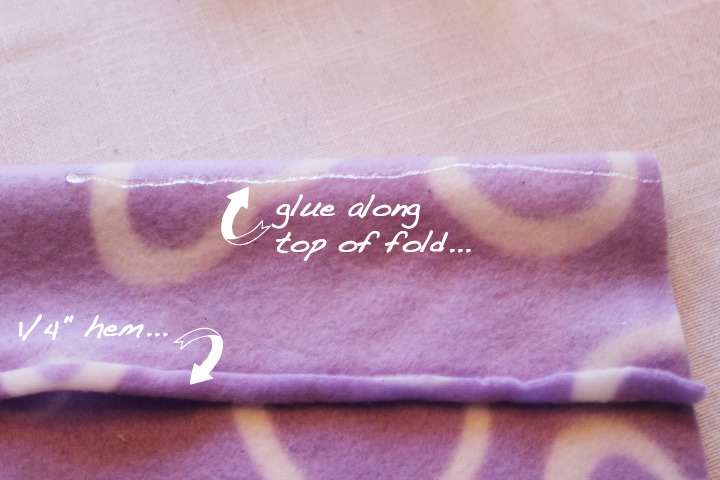
Then, fold about a 1/4″ hem up down the entire length, as shown below.

Next, add another bead of glue just above the newly created 1/4″ hem,
as show below.
Then, fold the fabric up and over the new glue line…
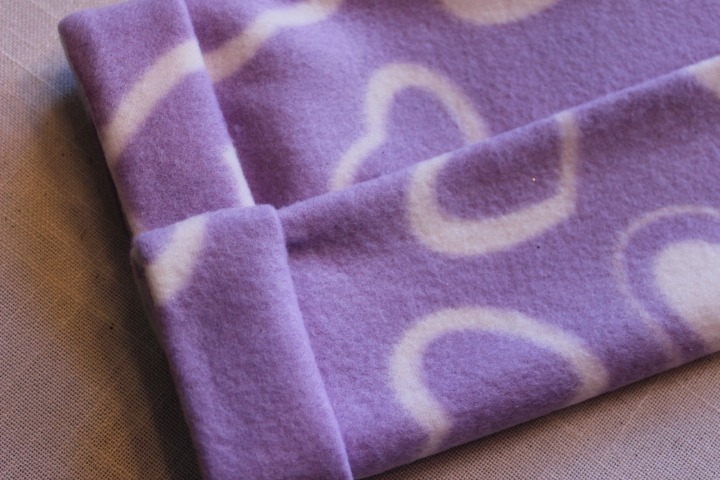
This will create the “cuff” of the hat…
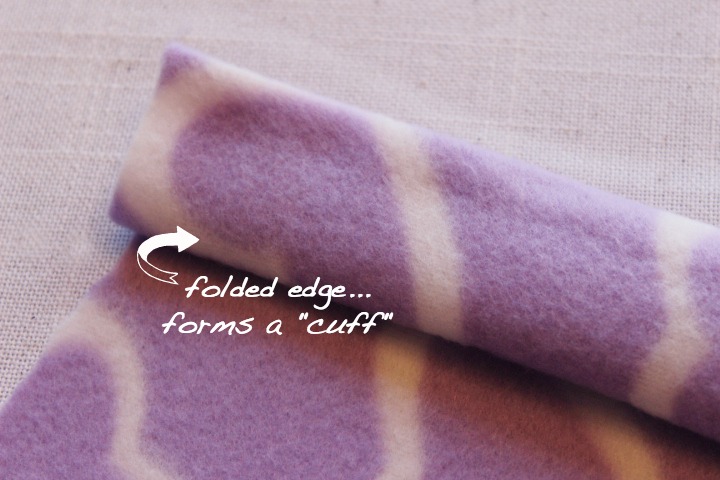
Next, you need to glue the “cuff” down…

Once the cuff is glued down, your fabric square should look like this…
(The reason I did not simply roll the fabric was I wanted the outside of the fleece
to be the outside of the cuff, not the inside of the fleece.)
Turn the right side and cuff of the fabric facing down.
Roll one end into the middle, add a glue line along the edge…
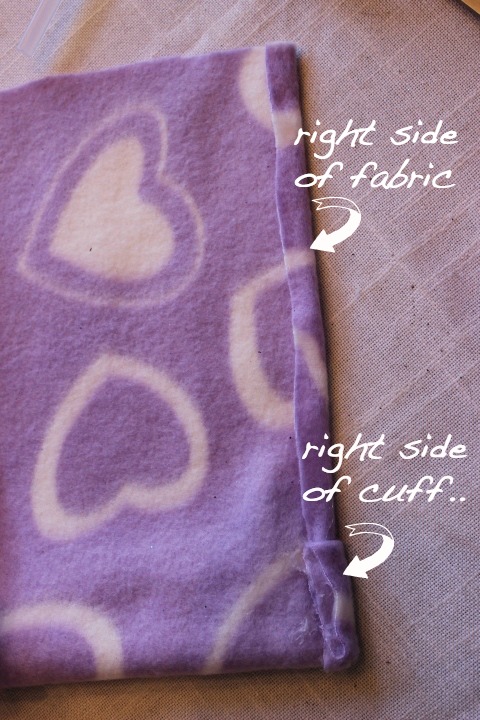
Then, make a small hemmed edge as shown above.
Run a bead of glue along the opposite edge…
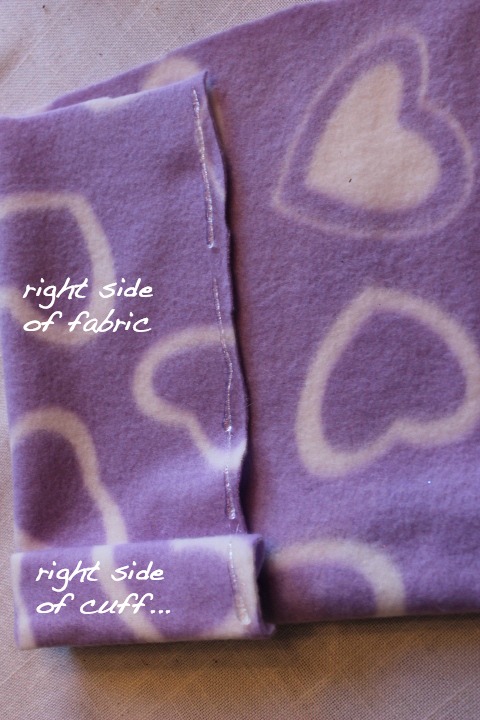
Now simply connect the two edges, as show below to create a “tube.”

Here is a close-up…
Finally, you cut about a 3-4″ piece of the selvage or finished-edge of
the fabric, about 1″ wide.
Gather the top of the hat with your fingers, about 3-4 inches down,
or however long you
determined your fringe to be.
*(note, fringe can be trimmed off if it’s too long)

Glue the strip of selvage fabric around the bunched fabric.
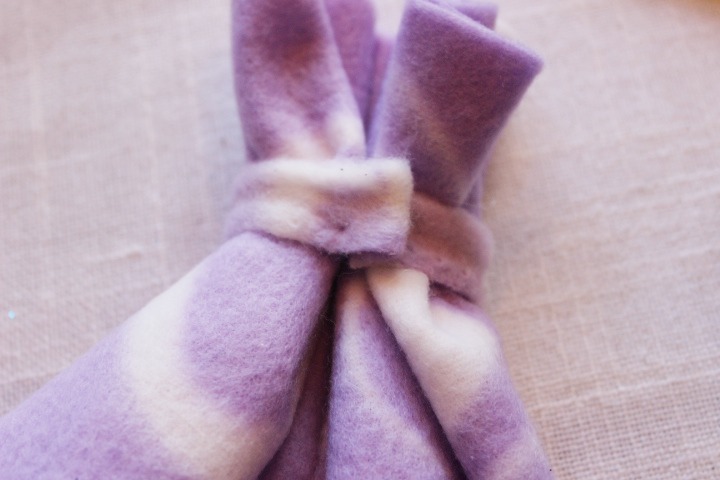 Then, using your scissors, you simply make small cuts all around the top,
of the fabric to create the fringe, same as you did the edge of
the scarf.
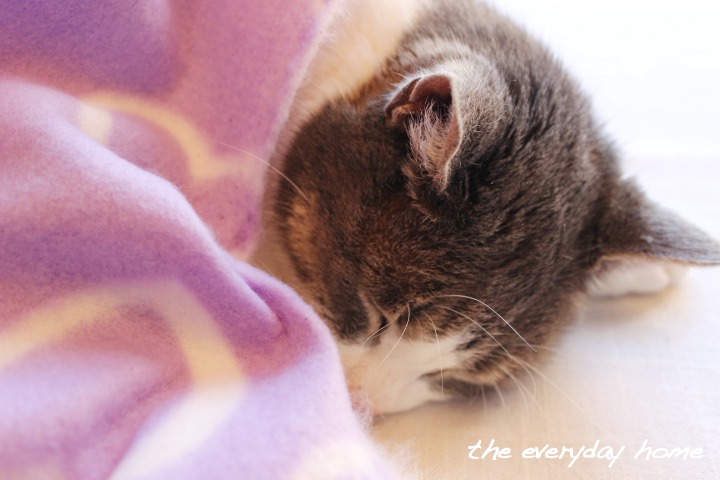
Now you will most likely have leftover fleece.
I made two sets from a yard and had some leftover.
It was just enough to create a cozy blanket for
BooBoo Bunny,
who was tired from supervising our craft project.
Next, you put the new
No Sew Winter Hat and Scarf Sets on your
beautiful daughter-in-law and precious grandlove…
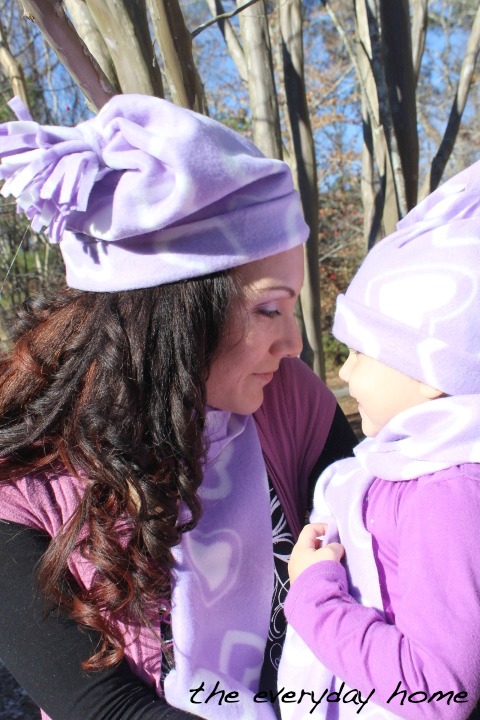
…and take a bazillion pics because you love them so much and
want to capture this moment, because it’s no longer about
a No Sew Hat and Scarf project, it’s about the love between
a mommy and her daughter.
And then you get to laugh at your little model striking a pose…

… and you wonder what is going on thru her little
mind at times like this.
Then, you look up to the heaven and give God a little wink,
because you know you are blessed with a pretty baby who love their
new Hat and Scarf set their Grammy made for her.
– – – – – – – – – – – – – – – – – – –
Please make sure you hop over and visit the other three bloggers
who are joining in today’s
“No Sew Winter Showcase.”
No-Sew Burlap Tags
No-Sew Valentine “LOVE” Pillow
No-Sew Snowman Hoop
– – – – – – – – – – – – – – – – – – –
If you loved this project and would like to save
it for future reference, please PIN IT to your
favorite board. Just move your mouse to
the center of the picture for the PIN IT BUTTON!
You can also join me at:
and Bloglovin‘


Darling, and no sew even better. I made some in camo for my twin nephews, and they were a hit.
View CommentOh I def need to make some camo one for the grandsons. 😀
View CommentBarb, you hat and scarf set came out wonderfully! I’d make that for myself!!! But it won’t look nearly as nice. Your models are gorgeous. And your little one looks like she could have a big modeling future!
View Comment